
Wednesday, September 19, 2012
Wednesday, June 27, 2012
Urban Decay Naked Skin HD Foundation Review

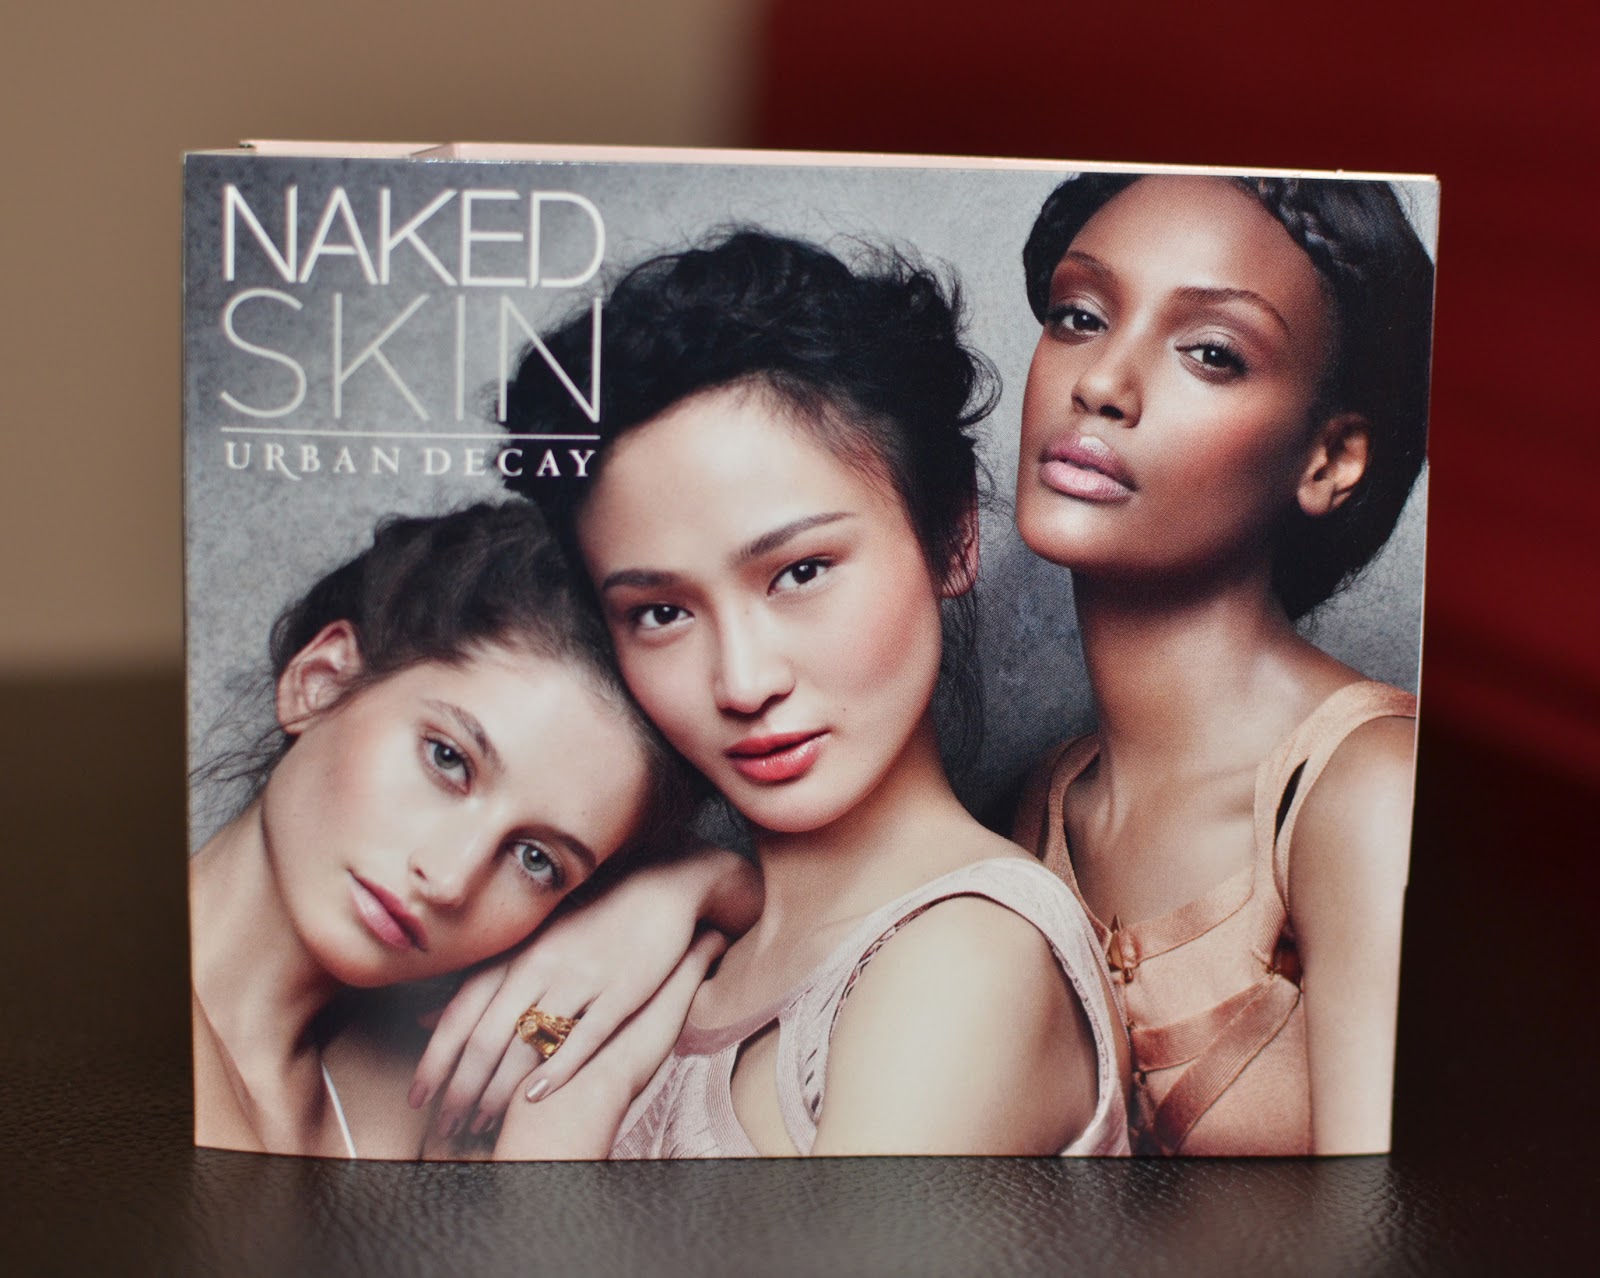
Sample From Imats


The consistency of the foundation was watery so I was skeptical that it would have medium to full coverage as they were advertised. Much to my surprise the foundation has GREAT coverage and it is a buildable foundation so you can adjust from medium to full coverage. The foundation felt very light weight on my skin and lasted through out the day. I have very oily skin so I did notice a bit of shine towards of the end of the day but this isn't a deal breaker for me because most foundations make me shiny towards 5pm if applied around 9am. Overall this foundation is a great addition to Urban Decays Naked line of products and does not disappoint.
Pros:
Weightless
Medium to full coverage
Very blendable
Can apply more layers for more coverage
Cons:
Made me a little shiny towards end of the day
The New Naked Skin HD Foundation will be released on Jul 26th on their website, and it will be in regular stores (Ulta, Sephora, Macys etc) starting July 29-August 1. There are a total of 18 weightless, medium to full coverage shades for $38.
Monday, April 9, 2012
Eyeshadow Primer Potion Tube - Eden

Here is a link to where you can purchase the item and more information. Urban Decay Primer potion tube- Eden
Thursday, February 16, 2012
Tony Moly Milky Tint #1 Milky Pink & Tony Moly Berry Berry Magic Lip Tint [#2 Green Apple]
Hey Everyone, so lately I have been obsessed with lip tints. I re-watched the Korean drama *Boys over flowers* and I noticed Jan dee's lightly tinted lips that gave her that *just bitten* look. I wanted to achieve that same look as it's winter so I've been more lazy these days about wearing lip gloss and lipstick, so this is a great alternative!!! I get color on my lips and lasts all day long without reapplying through eating and kissing :) I was researching about TonyMoly backstage gel eyeliner (I'll be writing a review on it soon) and came across these two lip tints so I decided to give these a shot first.


 Berry Berry Magic Tint Review:
Although it's green in the jar it goes on your skin as a clear pink tint. As you can see the Berry Berry Magic has a little bit more color than the Milky Tint and it's a bit more hydrating as the gel stays on your lips a little longer. It has a great light green apple scent that I love~!
Milky Tint Review:
Milky Tint is a little bit lighter in color and a bit more softer. I personally like the lighter pink look on myself as it looks more natural. The milky tint is a watery consistency as is a bit drying, but I just put on some chapstick on top and it was fine and it has a great light scent to it that I like better than the green apple scent~!
Both of the tints stayed on all day and all night although you need to give the Berry Berry Magic tint a little bit of tint for it to stain your lips. The Milky tint stains your lips immediately. I love both the tints and it would just differ on what kind of color I'm feeling on the day of :)
 |
| Tony Moly Berry Berry Magic Lip tint green apple |
 | ||||||
| Tony Moly Milky tint #1 Milky Pink |


Although it's green in the jar it goes on your skin as a clear pink tint. As you can see the Berry Berry Magic has a little bit more color than the Milky Tint and it's a bit more hydrating as the gel stays on your lips a little longer. It has a great light green apple scent that I love~!
Milky Tint Review:
Milky Tint is a little bit lighter in color and a bit more softer. I personally like the lighter pink look on myself as it looks more natural. The milky tint is a watery consistency as is a bit drying, but I just put on some chapstick on top and it was fine and it has a great light scent to it that I like better than the green apple scent~!
Both of the tints stayed on all day and all night although you need to give the Berry Berry Magic tint a little bit of tint for it to stain your lips. The Milky tint stains your lips immediately. I love both the tints and it would just differ on what kind of color I'm feeling on the day of :)
Friday, December 9, 2011
Put all your tubes of lipstick in one convenient container.

As a professional makeup artist, sometimes I get tired of looking under the lipstick of 753827530 to find the color that I'm looking for. Well, I've found a solution. I purchased a one month pill organizer on amazon Ezy dose Monthly Pill Organizer and Reminder for only $7.98. I like this particular pill organizer because it is the perfect length to fit a brand new tube of lipstick from base to top.
Tools that you will need:
1 Monthly Pill Organizer

1 nail file and tubes of lipstick

1. Using your nail file dig into Lipstick at the base and pop out the lipstick base into the pill organizer. There is lots of extra lipstick in the base tube of the lipstick so make sure to dig all that out into the container.

Remove the sticker on the bottom of the lipstick that indicates the make and color of the lipstick and stick it under the compartment that coordinates to the color. If you ever need a refill or want to know what color you're using you can just flip to the back of the pill box.

Voila~! All your lipsticks organized in one container :) Enjoy~!


Thursday, August 25, 2011
Eyelash Perming~!
Hey guys~! So I haven't posted in a while and thought I'd share something with you that can open up your eyes (literally).
I was on yelp one day just browsing and I came across a salon that did eyelash perming. Instantly I was intrigued since my lashes are now significantly longer than they used to be due to Latisse (see previous posts). I made an appointment right away to get the procedure done at Yuzuki Salon in Newport Beach, CA. They received 5 star reviews so I was confident that I wouldn't have botched eyelashes with a cost of $35 including tip :)
The procedure: I lied down in a very comfortable chair that looks something similar to a dentist chair and the lady asked me if I had done eyelash curling before. I let her know this was my first time and she went over how long it would take and how long the perm would last. I lied in the chair and closed my eyes while she put the silicone tube on with solution and tape on my lids to make sure to get most of my lashes to curl up. The whole process took about an hour and I was out the door with beautiful curled lashes.
I forgot to take a before picture (silly me) but here is during and after pictures of my own lashes. I have also included some before and after pictures of some other clients!

 After the Eyelash Perm

 Follow up: It has been 4 weeks since I received my eyelash perm and the perm still looks/curls the same as day one!!!!
I was on yelp one day just browsing and I came across a salon that did eyelash perming. Instantly I was intrigued since my lashes are now significantly longer than they used to be due to Latisse (see previous posts). I made an appointment right away to get the procedure done at Yuzuki Salon in Newport Beach, CA. They received 5 star reviews so I was confident that I wouldn't have botched eyelashes with a cost of $35 including tip :)
The procedure: I lied down in a very comfortable chair that looks something similar to a dentist chair and the lady asked me if I had done eyelash curling before. I let her know this was my first time and she went over how long it would take and how long the perm would last. I lied in the chair and closed my eyes while she put the silicone tube on with solution and tape on my lids to make sure to get most of my lashes to curl up. The whole process took about an hour and I was out the door with beautiful curled lashes.
I forgot to take a before picture (silly me) but here is during and after pictures of my own lashes. I have also included some before and after pictures of some other clients!


Subscribe to:
Posts (Atom)